ZED ZONE Base Defense Guide: Waves, Walls, and Power
Master ZED ZONE base defense: threat model from Dormant Hordes to Horde Mode, layered fortifications, firing positions, vehicle mobility, and lighting.
FAQ
What is the biggest threat to your base in ZED ZONE?
Does lighting help with base defense in ZED ZONE?
What Threatens Your Base in ZED ZONE?
ZED ZONE base defense is a systems problem, not a wall-height problem: the best compound on the island still falls if its owner never modeled what actually attacks it. As of version 1.0.11, four pressure sources matter.
Common Infected. Tier 1 Infected at roughly 228 HP and Tier 2 at 450 HP, as recorded during Early Access, spawn across the whole map and come at night in waves. Individually they are manageable; against a thin wall they are a demolition crew. Specials escalate fast: Blasters ignite targets and leave acid pools, Spitters bombard from range, Botanic enemies tangle melee fighters in vines, and Boomers carpet a gate with acid when they die.
Dormant Hordes. The 0.9.99.9.7 beta added Dormant Hordes — sleeping hordes that appear in the wilderness and near hospitals. They look like free loot until one wakes. Scouting with the PDA map and clearing at range before you build is now a core base defense habit, though exact wake triggers in the 1.0 era are verify in-game territory.
High-risk POI spillover. Military bases and cellars host Breakers — extremely fast, extremely hard-hitting enemies, as recorded during Early Access. Building next to such a POI imports that threat into every night wave, so treat them as hazard zones, not neighbors.
Horde Mode. The headline 1.0 mode is wave defense built around your base and vehicle, with airdropped supplies between waves and a four-player leaderboard in official challenge events. It is the purest test of ZED ZONE base defense and a training ground for survival-mode designs. See the Horde Mode guide for mode-specific strategy.
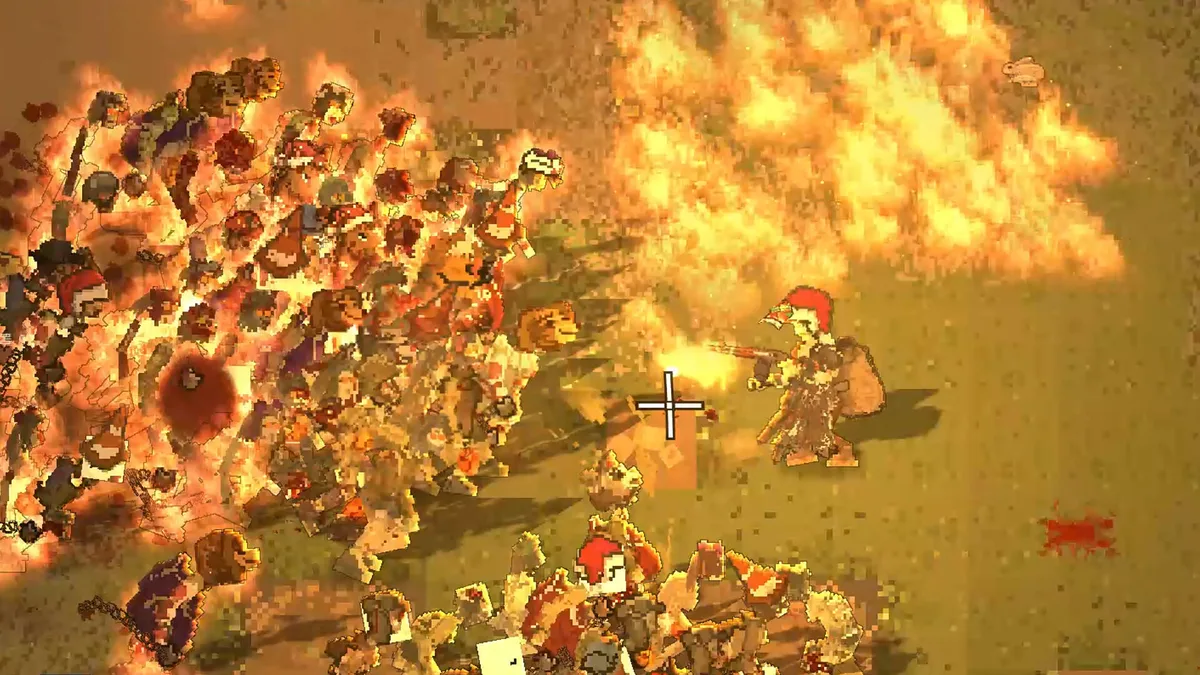
How Do Layered Defenses Work?
The core principle of ZED ZONE base defense is depth: no single wall should ever be the whole plan, because every layer you add converts one catastrophic breach into a manageable retreat.
Layer one: the wall ring. Enclose the compound with your best bulk material — voxel stone or metal once you can afford it — and keep the wall at least two tiles from anything flammable or valuable. Corners are weak points; double them. A breach should open into a yard, not into your crafting core.
Layer two: the chokepoint. Give attackers exactly one fast route in, then make that route hurt. A gatehouse with a dogleg forces infected to queue and turn while you shoot their backs. As recorded during Early Access, melee weapons wear down and need material-matched repairs, so a chokepoint that saves swings also saves your repair stockpile.
Layer three: firing positions. Elevated voxel floors and rooflines turn base defense into target practice. Build crenelated walls or window slots, stock arrows and magazines at each position, and mod your primary weapons through weapon mods so a jammed gun never costs you the wall. The voxel building guide covers how to raise those positions reliably.
Layer four: vehicle mobility. A car or bicycle parked inside the ring is a second life. Cars need gasoline and take damage when they hit things or enemies, so keep a Vehicle Repair Kit beside the driver door. If the wall fails, you drive out, kite the horde across the map, and come back at dawn. In co-op, one player can ferry supplies while the others hold the gate — see the co-op multiplayer guide for squad play.
How Do Power and Lighting Fit Into Base Defense?
Night is when ZED ZONE base defense gets expensive, and lighting is how you keep it cheap — a lit perimeter costs fuel, but a dark one costs blood. Powered lights extend your sight lines, make elevated firing positions actually work after dark, and mark the safe lane from the gate to the vehicle bay. The portable gasoline generator is your early power backbone — treat fuel logistics as part of the defense budget, not an afterthought.
Beyond lights, power feeds the crafting chain that keeps the wall standing: the Chemical Bench runs on energy per batch, and repairs consume plates, nails, and metal components. A base that cannot craft at night is a base that loses the second wave. Exact per-fixture power draw and light radius are Community verification in progress in the 1.0 era.
What Should You Stock for a Siege?
ZED ZONE base defense fails in the inventory, not on the wall. Before any night you expect to be busy, stage three caches: ammunition and spare magazines at each firing position, melee backups for when guns jam, and repair materials — wood, stone, plates, and nails — within reach of the breach. The 1.0.5 R-to-take-all and E long-press looting changes make restocking fast after a fight, but only if the crates are already where the fight happens. Keep food and medicine upstairs too; a long wave is as much a stamina war as a firepower one, and the 1.0.5 meal buffs reward eating before the siren, not after.
What Are the Best Defense Techniques as of 1.0.5?
Two launch-window changes reshaped ZED ZONE base defense mobility. First, the 1.0.5 patch added Q to open windows and vault through them: every ground-floor window is now an emergency exit, and rooftop defenders can drop, re-enter, and reposition mid-wave. Build with that in mind — hinge windows away from chokepoints. Second, the 1.0.4 exoskeleton rework gave powered armor pieces +25 kg of carry capacity with no weight penalty while supplied, so resupplying firing positions mid-fight is far easier.
The classic trick still works too: infected and machines will fight each other. Kiting a Spider Robot past a wandering horde can clear both for you, and its laser volleys thin the infected nicely. Pair these techniques with a well-zoned compound from our base building guide, keep the beginner guide loop — scout, wall, shoot, repair — and your base defense will outlast the island.
Related Articles
guides
Zed Zone Horde Mode Guide: Waves, Airdrops, and the Upgrade Loop
Complete Zed Zone Horde Mode guide for 1.0: the wave-defense loop, mobile base vehicle, per-wave airdrops, upgrades, and the 4-player leaderboard challenge.
base
ZED ZONE Base Building Guide: Sites, Systems, Layouts
Learn ZED ZONE base building in 1.0: pick a site near resources and POIs, master the new voxel system, and plan crafting, storage, defense, and farm zones.
base
ZED ZONE Voxel Building Explained: Blocks, Stories, Simple Mode
The deepest guide to ZED ZONE voxel building: all five block materials, walls, floors, stairs, roofs, multi-story load-bearing, and the 1.0.10 Simple Mode.
Was this helpful?
Thanks for the feedback!